
Artificial intelligence has made huge strides in recent years. With it, large amounts of data can be analyzed in order to generate models capable of performing even very complex tasks. A branch of artificial intelligence that fascinates a lot is the ability to generate text from a few words of input: Natural Language Generation.
In this article we will see how it is possible to generate articles on Elastisearch whose features we have already discussed in the articles ELK Stack: what it is and what it is used for, What is Kibana used for?, Kibana: let’s explore data, and Python starting from a simple question and a few lines of Python code. We will use, in particular, the GPT-2 Large Pre-trained model and HuggingFace Transformers. However, let’s start by giving two broad facts about the technologies we will be using.
GPT-2
Announced in 2019 by OpenAI, GPT-2 is the successor to GPT, and was theorized in the article Language Models are Unsupervised Multitask Learners. This language model is composed of transformers with 1.5 billion parameters and trained on a dataset of 8 million web pages. The training goal of GPT-2 is very simple: predict the next word by knowing all previous words within a text. The heterogeneity of the training dataset implies that the generated model can be adapted to different application domains. Compared to its predecessor, GPT-2 is a direct scale-up with more than 10 times the parameters and trained on a 10 times larger dataset.
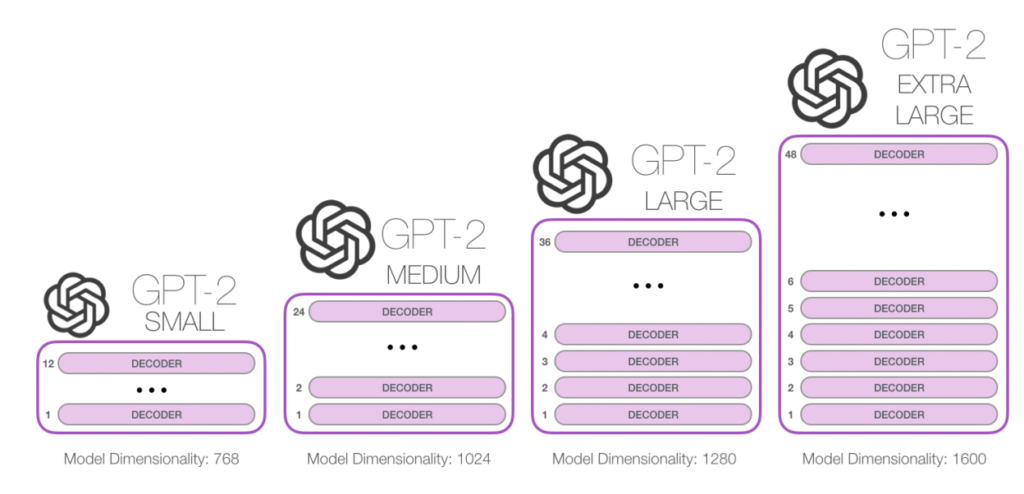
However, several models of GPT2 have been released as shown in the figure. These differ by size: small (124M parameters), medium (355M parameters), large (774M parameters), and extra large (1.5BM parameters, i.e., the full implementation).
In May 2020, OpenAI announced GPT-3. Unlike its predecessors, this model can only be used through paid APIs which makes it less usable as a starting point for creating new models.
If you want more information you can read an interesting article directly from the OpenAI website.
Transformers HuggingFace
HuggingFace Transformers (formerly known as PyTorch-transformers and PyTorch-pretrained-bert) provides general-purpose architectures (BERT, GPT-2, RoBERTa, XLM, DistilBert, XLNet…) for natural language understanding (NLU) and natural language generation (NLG) with over 32 pre-trained models in more than 100 languages and deep interoperability between TensorFlow 2.0 and PyTorch.
Basically Hugging Face Transformers is a python package that has some pre-defined or pre-trained functions, pipelines and templates that we can use for our natural language processing tasks.
GPT-2 Tokenizer and templates are also included in HuggingFace Transformers.
For more information about the available Transformers and their use we refer you to the official documentation.
Development Environment
For this introductory tutorial to text generation with GPT we will use a Jupyter Notebook. As we have seen in the article Jupyter Notebook: user’s guide, it is possible to install it simply through Anaconda.
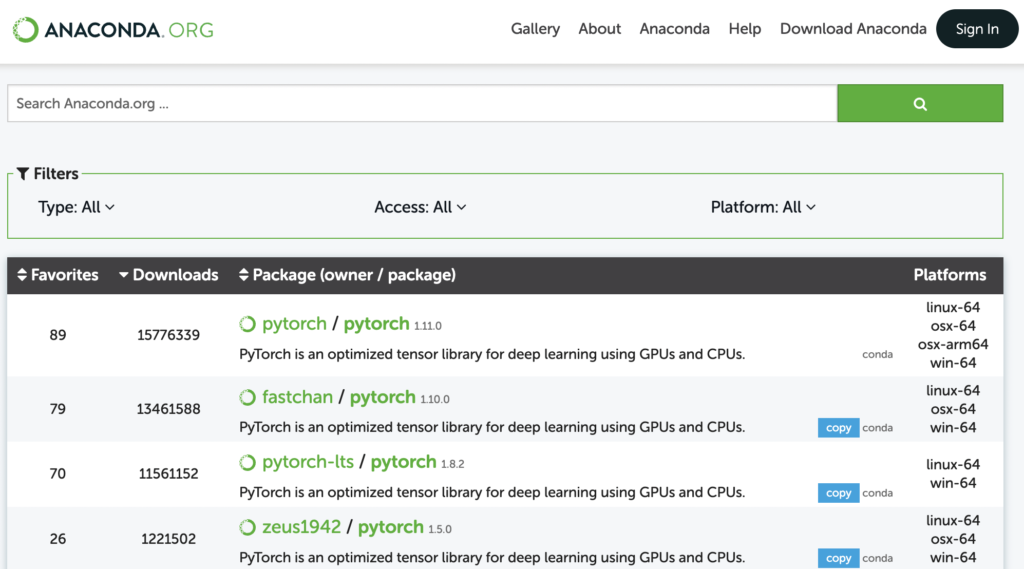
To take advantage of the HuggingFace transformers it is necessary to install, in addition to them, Pytorch. To do this, simply go to the Anaconda site and search for the packages that interest you. For each package is indicated the architecture for which it is released. For example, if you have a Mac with an M1 chip you’ll need to look at all packages compatible with the osx-arm64 platform.
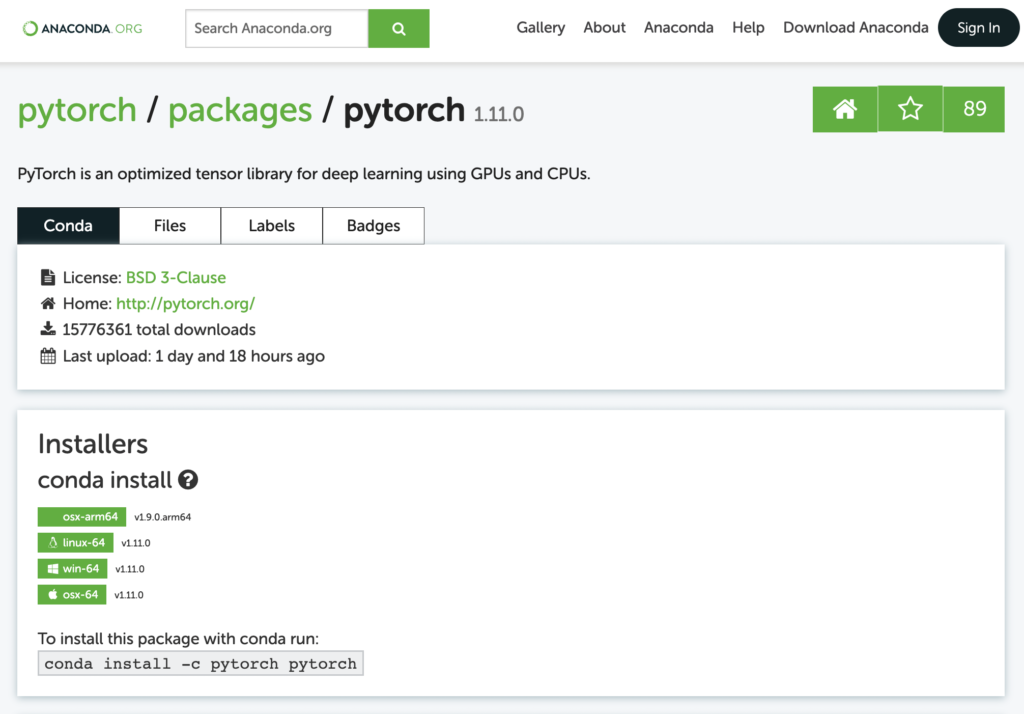
Clicking on the package will provide us with installation instructions, as you can see below.
To install the packages we need, Pytorch and transformers, you can use the following commands.
conda install -c pytorch
conda install -c conda-forge transformers
Once the installations are complete, you can launch Anaconda and then a Jupyter Notebook or Jupyterlab.
Generating a text on Elastisearch
First, we import GPT2LMHeadModel for text generation and GPT2Tokenizer for text tokenization.
from transformers import GPT2LMHeadModel , GPT2Tokenizer Now we load the model into the Jupyter notebook.
tokenizer = GPT2Tokenizer.from_pretrained('gpt2-large')
model = GPT2LMHeadModel.from_pretrained('gpt2-large' ,
pad_token_id = tokenizer.eos_token_id)
Since we are using the large model, it will take a while for it to download. Make sure you have more than 3GB free before running this command. Otherwise you can use the smaller versions of the GTP-2 templates.
For text generation, we need to provide some initial text to our model. In order for the input text to be correctly recognized by the model, we need to preprocess it. We then define the text to start with as shown below.
sentence = 'What is Elasticsearch?' At this point we need to transform it into PyTorch tensors.
input_ids = tokenizer.encode(sentence, return_tensors='pt') The words are converted into a numeric index which you can also view using the decode function.
input_ids = tokenizer.encode(sentence, return_tensors='pt')
# tensor([[ 2061,   318, 48567, 12947,    30]])
Finally, we generate the text using the function generated by GPT2LMHeadModel.
output = model.generate(input_ids,
max_length = 1000,
num_beams = 5,
no_repeat_ngram_size = 2,
early_stopping = True)
Before showing you the result, let’s analyze in detail the various parameters used to generate the text.
- max_length: Maximum number of words in the generated text.
- num_beams: Beam search reduces the risk of missing high probability hidden word sequences by keeping the most likely number of hypotheses at each time step and ultimately choosing the hypothesis that has the highest overall probability. Beam search will always find an output sequence with a higher probability than greedy search, even if it is not guaranteed to find the most likely output.
- no_repeat_ngram_size: While the output is arguably more fluent, the output still includes repetitions of the same word sequences. A simple workaround is to introduce n-gram penalties (i.e., sequences of n words) as introduced by Paulus et al. (2017) and Klein et al. (2017). Setting the penalty to 0 ensures that no n-gram appears twice.
- early_stopping: Set it to the value True, generation will end when all beam hypotheses have reached the EOS token.
More details about the arguments of the generation function can be found in the official documentation.
The generate function will return the ids of the tokens in our new text. By simply decoding the result we can print our article. The text generation time varies depending on parameters, including the length of the text to be generated, and the power of your machine.
print (tokenizer.decode(output[0], skip_special_tokens=True )) Here’s the final result.
What is Elasticsearch? Elasticsearch is a full-text search engine that can be used to search and index large amounts of data. It is used by companies like Google, Microsoft, Yahoo, and many others. ElasticSearch is also used in many open source projects, such as Apache Hadoop, Apache Spark, HBase, MongoDB, Cassandra, Redis, Memcached, etc. In this post, we will be looking at how to install and set up a simple elasticsearch cluster on Ubuntu 16.04 LTS (Xenial Xerus) using Docker. We will also be using the Docker Compose tool to automate the installation and configuration of the cluster. This post assumes that you have a basic understanding of Docker and how it works. If you are not familiar with Docker, you can read more about it here: https://docs.docker.com/en/latest/userguide/getting-started/installation-and-configuration-of-docker-compose.html. For the purposes of this tutorial, let's assume you already have Docker installed and running on your system. You can find more information about Docker on the official Docker website: http://docker.io/docs/tutorials/how-to-build-a-containerized-application-on-ubuntu-16-04-lts-with-dockery-1.2.0-beta-2-amd64-linux-x86_64. The following Dockerfile will create a Docker container that will act as the master node of our cluster and will serve as a data store for the data that we are going to index. Note that this is not a production-ready cluster, but it should give you a good idea of how Docker works and what it can do for you. #!/bin/bash export DOCKER_OPTS="-v" docker run -d -p 8080:8080 \ -v /var/lib/docker/data:/data \ --name my-elastic-search-cluster \ my_docker_data_dir /data/my_search_file.txt -it --restart=always --volume-driver=dynamodb \ /usr/share/nginx/html/index.php:8000:9000 \ nginx -t http.server:5000 -c "server { listen 80; listen [::]:80; server_name localhost; location / { try_files $uri @api; fastcgi_split_path_info ^(.+\.php)(/.+)$; } location ~ \.(jpg|jpeg|gif|png|ico|css|js|swf)$ { add_header Cache-Control "public, max-age=0, must-revalidate" ; } }" /etc/init.d/nginx start # Create a container for our index file docker create -f /path/to/your/search.yml.example /dev/null # Start the container docker exec -ti -e "rm -rf /tmp/*" -i /home/ubuntu/dynamic-index-file-name-server.sh /root/node_modules/mysql-5.6.1-0ubuntu1_all.deb # Run the indexing service docker start --net=host --memory-size=512M --volumes-from=my-data-dir --start-stop-daemon --log-level=info --user=root --group=ubuntu --system-type=linux --vhosts=localhost.localdomain --tls-verify=yes --ssl-cert-path=/etc/.ssl/certs.pem docker stop --rm-if-not-found --recursive-service docker rm --ignore-errors --remove-empty-files --force-removal --no-startup-id docker restart --recheck-interval=1s --privileged --service=mysqldd # Check that everything is working docker ps docker inspect --format '{{.}}' --color=auto | grep -E 'index' | awk -F: '{print $1}' > /proc/sys/kernel/random/entropy_avail docker logs --tail -n 1 --pretty=format: "%d" | sort | uniq | head -1 | xargs -I {} \ | sed's/.*\(.*\)$/\1/g' \; docker status # List all the containers that are running docker info # This will show you the name of each container and the number of processes # in each of them. Each process is represented by a number in the range 1-65535 # (e.g. 1 is
Since this is a technical topic, many commands have been included that are more related to Docker than Elasticsearch. The beginning is quite good, but then it deviates too much from the initial topic. Finally, the text does not conclude.
Generating text about Python
Let us now try to modify the initial sentence with the following question.
sentence = 'What is Python?' We reduce the number of maximum words generated to reduce both runtime and possible text drift. The result we get for a maximum 500 word text is as follows.
What is Python? Python is a general-purpose programming language that is used to write computer programs. It is also known as the "language of the Internet" because it is the most widely used language in the world. Python is written in C++, a high-level, object-oriented language developed by Sun Microsystems, Inc. (NASDAQ:SUN). Python can be used in a wide variety of applications, including web servers, databases, web browsers, and embedded systems. The language is available for free download at http://www.python.org/download.html.
In this case, the topic is very well discussed even if it is a bit short. No one could guess that it was a machine and not a human that wrote it.
As we have seen text generation using GPT-2 is very simple and opens up a variety of uses in many areas including chatbots, content generation for websites and use in Industry 4.0.